
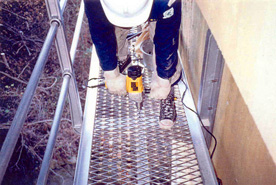
1단계 M12드릴로 천공한다.

2단계 M12 X 120 앵커를 설치한다.
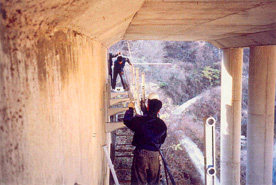
3단계 알미늄 합금제 지지프레일을 설치한다.
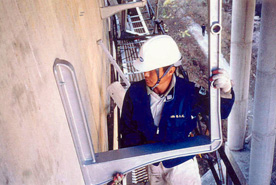
4단계 안전 발판을 설치한다.
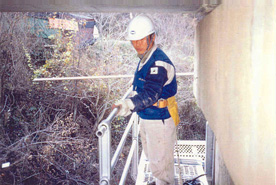
5단계 안전파이프를 조립한다.
6단계 안전 발판을 고정한다.
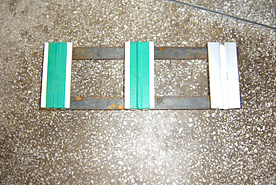
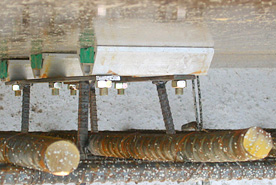
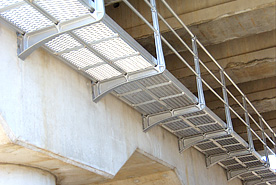
매립식 – 클램프 레일 형식 1
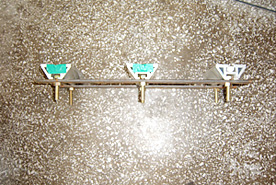
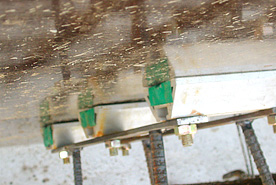
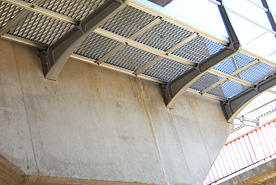
매립식 – 클램프 레일 형식 2
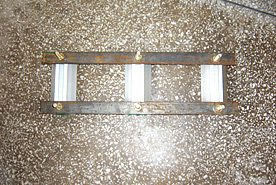
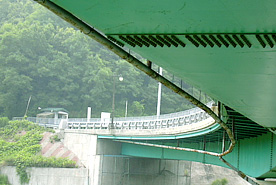
매립식 – 클램프 레일 형식 3
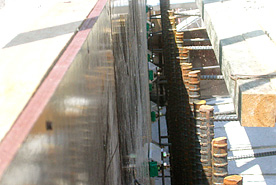
매립식 – 클램프 레일 형식 4

매립식 – 클램프 레일 형식 5
매립식 – 클램프 레일 형식 6
매립식 – 클램프 레일 형식 7
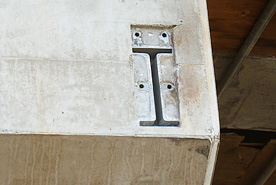
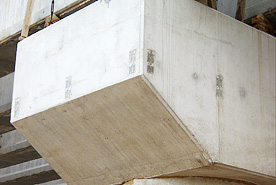
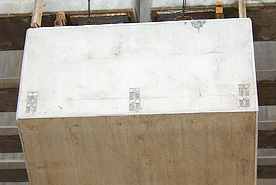
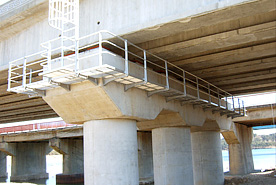
교각에 설치되는 하중용 클램프레일

구조설명
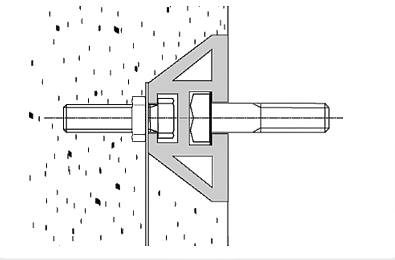
설계도면
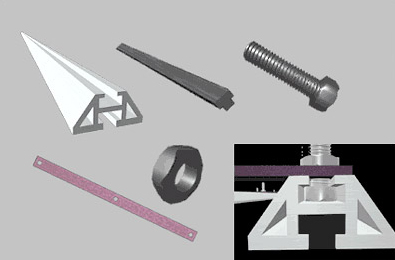
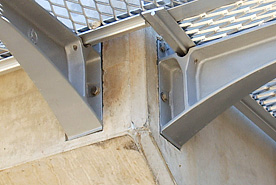
클램프레일 조립관련 부속물
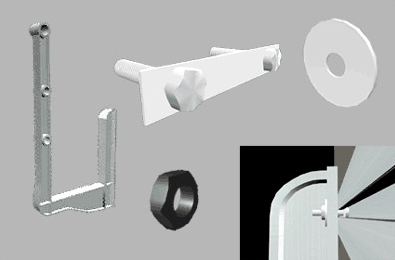
교각 클램프레일에 포스트 설치관련 부속물
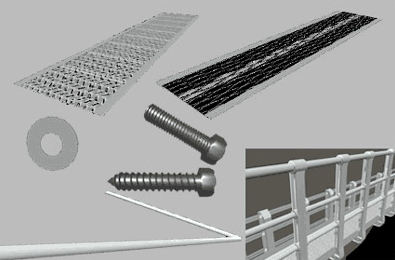
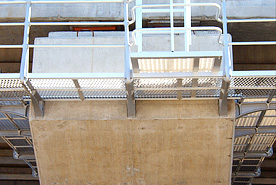
교량 점검로 발판 및 난간 설치 관련 부속물
매립식 – H 브라켓 형식 1
매립식 – H 브라켓 형식 2
매립식 – H 브라켓 형식 3
매립식 – H 브라켓 형식 4
매립식 – H 브라켓 형식 5
매립식 – H 브라켓 형식 6
매립식 – H 브라켓 형식 7
매립식 – H 브라켓 형식 8
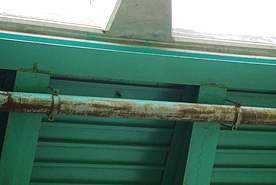
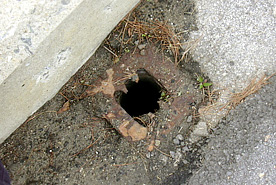
배수시설 - 부식 상태 1

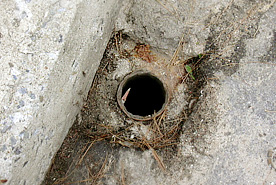
배수시설 - 부식 상태 2

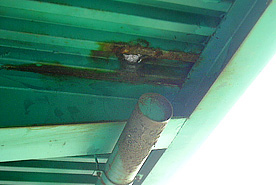
배수시설 - 부식 상태 3
배수시설 - 부식 상태 4
배수시설 - 부식 상태 5
배수시설 - 부식 상태 6
배수시설 - 부식 상태 7

배수시설 - 부식 상태 8

배수시설 - 부식 상태 9
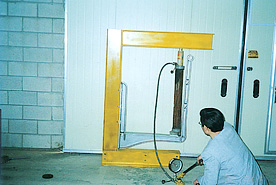
난간부 실험
발판부 실험
실험 1

실험 2
실험 3

실험 4